
Timing is Key: The Process Of Post Production

Updated: May 17, 2024
For my sound design project, I had to do many things, recording sound effects using a TASCAM, finding Sound Effects on websites like freesound for SFX I simply could not create, checking the creative commons of those sound effects to judge whether I may use those sound effects, and most importantly in my opinion, Foley
Preperation
To Prepare for the project, I had to work on a timeline of my project to ensure everything went smoothly and on time, to do that i created a gantt chart to show my goals week to week when the project begins

Setting Up a Foley Room.
Setting up a foley room required me to first think about what a foley room looks like, what environment would I have to create to allow me to take advantage of my space.
This led me to a separate site named "The Beat" a blog site connected to "PremiumBeat" a sound library made by Shutterstock. Their article
Helped me see what kind of environment was required. thus, leading me to create this:

Beautiful, Isn't it?
Made up of walls to dampen out sound, a screen to see exactly what point the scene is at, and a Sennheiser ME66 Shotgun Mic (Selected because of its polar pattern, Supercardioid allows for very little spillage from around to get picked up due to its very focused recording ability) pointed exactly to where I would be stepping to create the appropriate noises. It was small and amateurish, but it was exactly what I needed to get the job done.
The Session
The Session consisted of me in the live room and Session Engineer Devon Taaffe, who was responsible for recording and placing the marker at the correct times, in the control room, going through the scene selected and recording foley for it. using tools to recreate noises, dissimilar materials for distinct kinds of footsteps and clothing.

Now, as the title suggests, Timing is Key, Foley requires to be recording live while the film is playing in front of you, when you record footsteps, it is imperative that you get the timing correct. depending on the scene, this ranged from only taking one take, to having to do multiple retakes to get the timing and feel of the footsteps correct, same applies to clothes rustles, and other foley work such as metallic noises
Foley is the easiest way to get many sound effects done without painstakingly dropping them in, especially if that sound is easily recruitable and abundant in the work. allowing for much of the time taken to get the timing realistic to be rendered null by using Foley as the recording method.

Sound Effects, Recorded and Downloaded
When the tools are not there to record certain sounds in foley, you settle for the next best thing, recording them separately without regards for timing, recording sound effects can be really useful in creating more out there sounds without having to be in a confined space like a foley room. such as being able to record ambiance and simple sounds all from your own home.
However, certain sounds cannot be recorded, whether they may simply be too uncommon to be able to record, or costly. there may be rare occasions where you must collect sound effects from sites such as
This is where I collected sounds that were impossible for me to record myself. although you must be careful as you will need to look towards the creative commons, and what they set it as.
I would then take all those sounds, name them apppropriately and keep them all within one folder, that way it's organized, and easy to locate

The Law
Creative Commons can be tricky to understand, but easy to follow. especially on freesound where the creative commons set are front and centre, here are some examples.

This track uses attribution 3.0, where you are allowed to use sound in any way as long as the artist is credited.
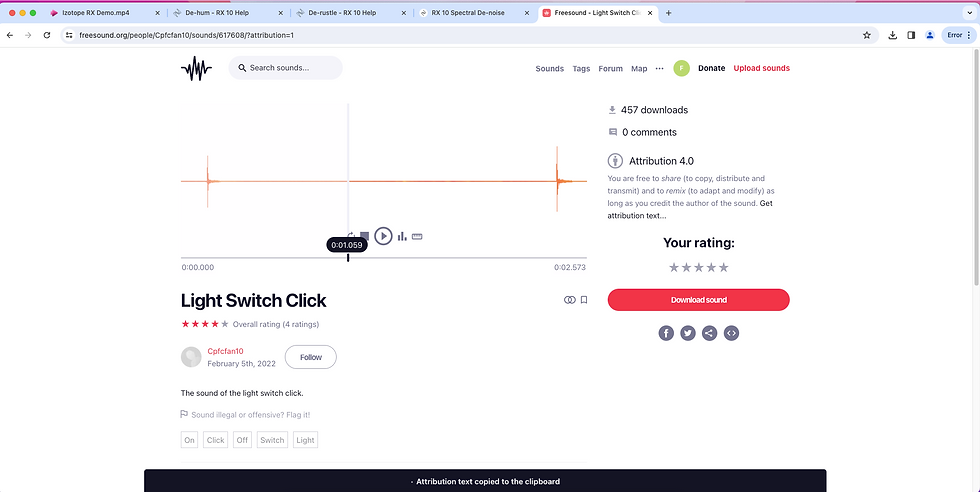
This track uses attribution 4.0, where you are allowed to use sound in any way as long as the artist is credited.
Now, what's the difference? I hear you ask. Well, the main difference between Attribute 3.0 and 4.0 is the degrees that the track owner is allowed to request removal of their chosen audio. to quote creativecommons.org "Version 3.0 included a provision allowing a licensor to request that a licensee remove the attribution from an adaptation, if she did not want her name associated with it. Version 4.0 expands that provision to apply not only to adaptations but also to verbatim reproductions of a work."
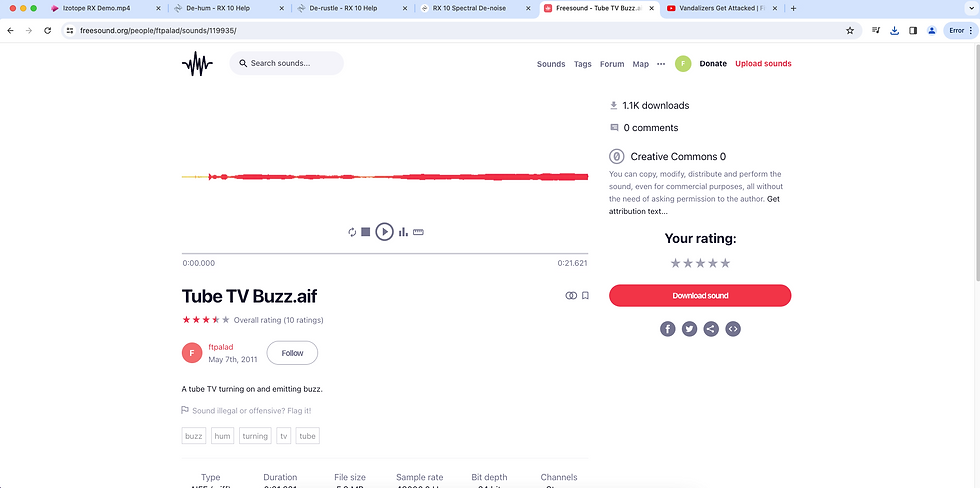
Creative commons 0 is the easiest to understand and apply, because it's a track you're allowed to use however you'd like in any way, without requiring credit.

Non-commercial is a restriction set that does not allow you to use this track in a work that is commercial (makes profit), combine that and attribution and you get a track where you can only use it in a non-commercial format and requires you to credit the track creator if used.
Mixing
Mixing as a process is another part where timing is key, not only does dropping the sound effects in their correct locations matter, but the speed can matter too, if a sound is even slightly mismatched in timing, then it can throw the immersion off completely, a solution to that is
Warping.
Warping is a process where you move certain parts of a track to specific locations, slowing down or speeding up the waveforms in-between the waveform markers. this allows you to place important parts of a sound exactly where they need to be, even if the audio wasn't allowing you to at first.

This is a warped version of a door opening sound effect, where the important parts of the sound are placed in the locations that correspond well to the scene, because the sound effect was far too slow, warping it would be the best way to get it in the correct timing without completely changing the sound
Once all the sounds are place correctly, you can begin using your creativity to manipulate the sounds into the environment, to do this I like to imagine what it would sound like if I were where the characters were, what would my voice sound like, would it echo? would it be low? High? Then I attempt to emulate my imagination into reality, using certain creative liberties to give certain noises more effect than others, one way I do this is reverb decay length, the longer the decay, the more impact that sound has by remaining longer

Long Decay

Short Decay
In combination with EQ to create an impactful noise with every sound effect.

For an effect like television, it is nice to attempt to do something different, rather than have it sound like it's in the room, have it sound artificial, like its coming from one location in that room, to do this I used a plugin I wouldn't have expected to use in Post Production

Lo-Fi, it is a plugin with many purposes, the purpose for this project? Digitisation, I desired the noise of the TV to sound crunchy, as if it were coming through the cheap speakers, I imagine security offices would have. in combination with the sounds within the room, and general ambiance, this effect made the TV noises not only stand out but make sense within the room.
This was my Process when creating the sound design for the Five Night's at Freddy's scene, in conclusion. Timing is Key when wanting to create immersive sound. having everything come together is what creates immersion, yet mixing and imagining where you would be in that scenario and what each room sounds like makes up the remaining 10% of what makes immersive experiences in film.


Comments